Exchange on an iPhone
Microsoft Exchange on an iPhone
- In Settings, go to Mail, Contacts
- Click Add Account
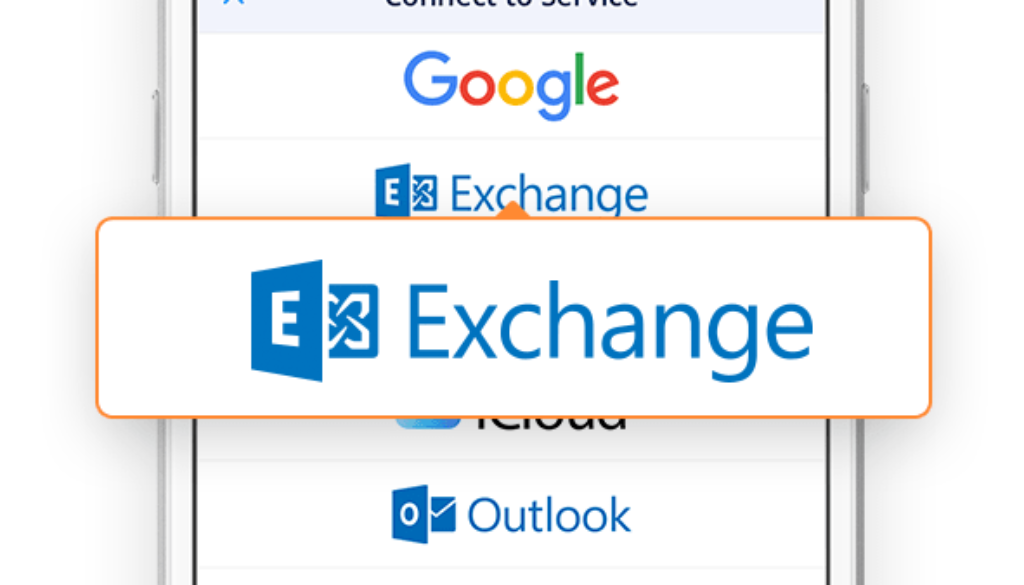
- Click Microsoft Exchange
- Enter the information on the account screen
- Once you have that all entered correctly, click Next
- If you get a message stating that your server could not be verified, click Continue, and enter the name of the server. This is the same address you entered to get to Outlook Web Access.
- You may get a second warning stating that the server cannot be identified. This is due to your server having an untrusted or invalid SSL certificate. Once again, click Continue.
- If you receive a message that the Exchange account cannot be verified, click Okay, and then check that all of the information has been entered correctly. This message is often displayed because of an incorrect password or Domain name.
- Once it is validated, choose what you want synced with your iphone and click Save.
At this point your iPhone will synchronize.
Calgary Computer Doctor
Posted on Nov 13, 2011